
The Raspberry Pi, a compact and affordable computer, was initially designed to inspire students to learn programming. Over time, this highly successful single-board computer (SBC) series has evolved significantly, introducing powerful capabilities and remarkable enhancements with each new model, including the Raspberry Pi 5 8GB.

However, if you’re just stepping into the vast universe of Raspberry Pi projects, it might be challenging to undertake intricate projects that leverage the full potential of the latest Raspberry Pi SBCs. Therefore, we’ve compiled a list of the best Raspberry Pi projects that are straightforward and won’t require you to spend countless hours tinkering with your Raspberry Pi. These projects are not only educational but also enjoyable, providing a great starting point for beginners. They allow you to explore the capabilities of your device without getting too complex, making them perfect for those who are new to this exciting world of DIY computing.
10. LLM server
In the rapidly evolving tech landscape, AI-powered devices and applications are becoming increasingly prevalent. This trend is paving the way for Neural Processing Units (NPUs) to become a standard component in our digital devices. However, until that day arrives, you can create a basic version of an LLM server using a Raspberry Pi and software called Ollama.
This project is relatively straightforward to set up, but it’s worth noting that the capabilities of a single-board computer (SBC) like the Raspberry Pi are somewhat limited. Therefore, this project is lower on our list. For those who are deeply invested in AI, you might find it more beneficial to transform a full-fledged PC into an LLM machine to harness more computational power.
However, if you happen to have an 8GB Raspberry Pi 5 that’s not currently in use, you can easily repurpose it into an Orca Mini server. This project serves as a great introduction to the world of AI and server management, offering a hands-on experience with minimal complexity.
9. Time-lapse camera
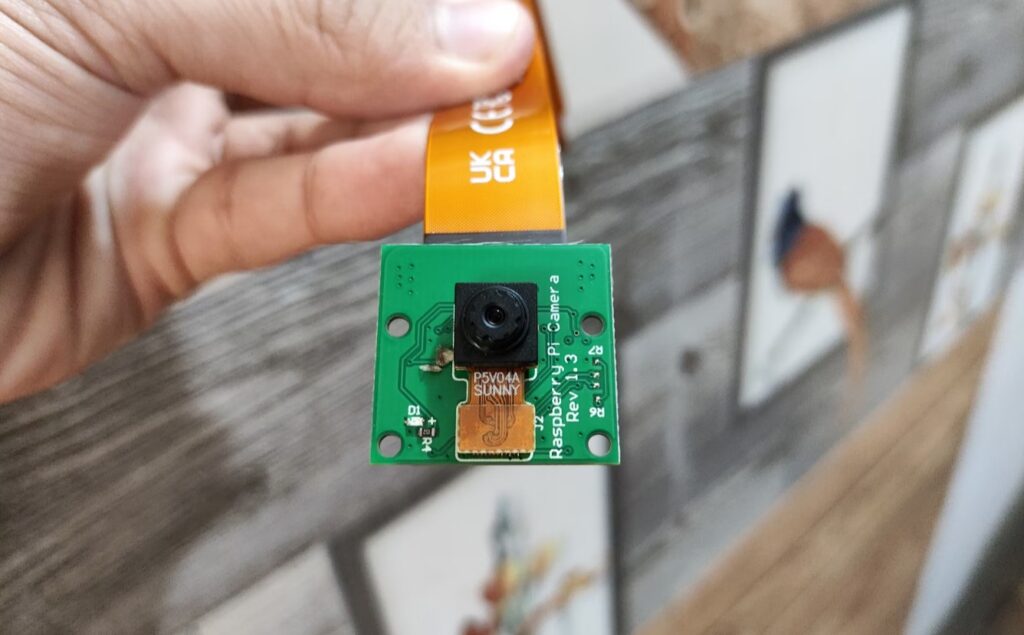
A time-lapse camera is a fascinating tool that allows you to take a series of photographs of the same scene over an extended period. These images can then be compiled into a video, providing a fast-forwarded view of time and change. This project is one of the simplest and most rewarding that you can undertake with a Raspberry Pi, and it can be completed in a single session.
The beauty of this project is its versatility. Whether you have a dedicated Raspberry Pi camera module or a simple webcam, you can still participate in this project. While some basic coding knowledge might enhance the outcome, it’s not a strict requirement. The result, a captivating time-lapse video, is a testament to the power of technology and is well worth the effort you put in. This project not only provides a practical application but also serves as a great introduction to the world of Raspberry Pi and coding.
8. Minecraft server using Pinecraft
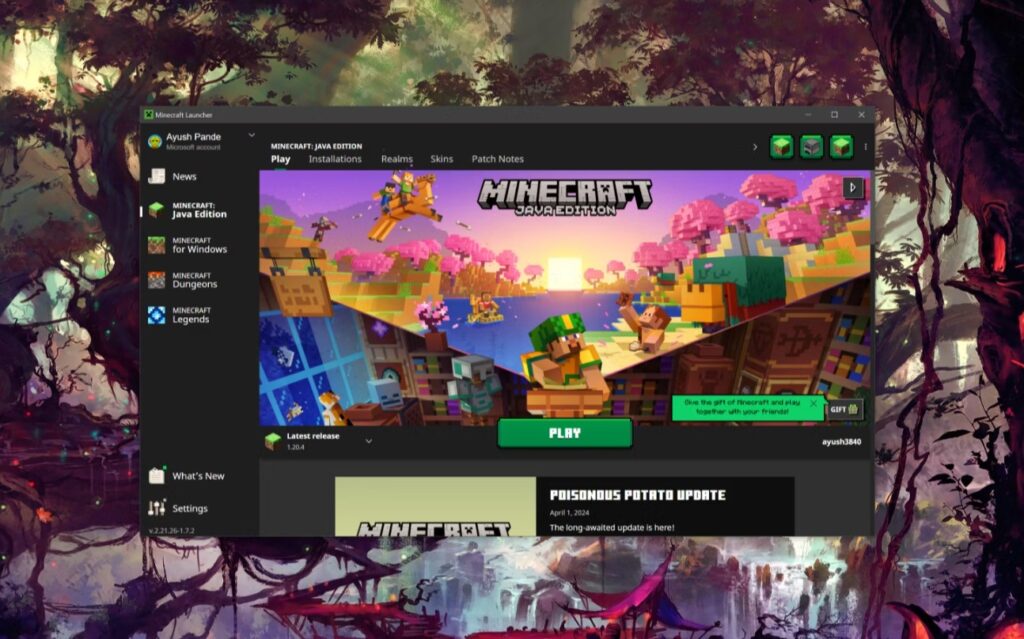
For Minecraft enthusiasts who want to host their server without the hassle of setting it up from scratch, Pinecraft is an excellent solution. This tool, which is compatible with a wide range of server types and game seeds, simplifies the process of hosting a multiplayer Minecraft session directly from your Raspberry Pi.
To get started, all you need to do is clone the most recent Pinecraft repository and run the install.sh batch script. The installer will then guide you through the rest of the setup process. It’s important to note that Pinecraft is not compatible with the latest versions of Minecraft Java, so you’ll need to play on an older version. Despite this minor limitation, Pinecraft is a fantastic project for Minecraft fans looking to delve deeper into the world of server hosting, offering a straightforward and accessible introduction to this aspect of the game.
Check: Whatsapp Dp
Also Read: Apple’s Game-Changing Strategy
7. Makeshift Android device
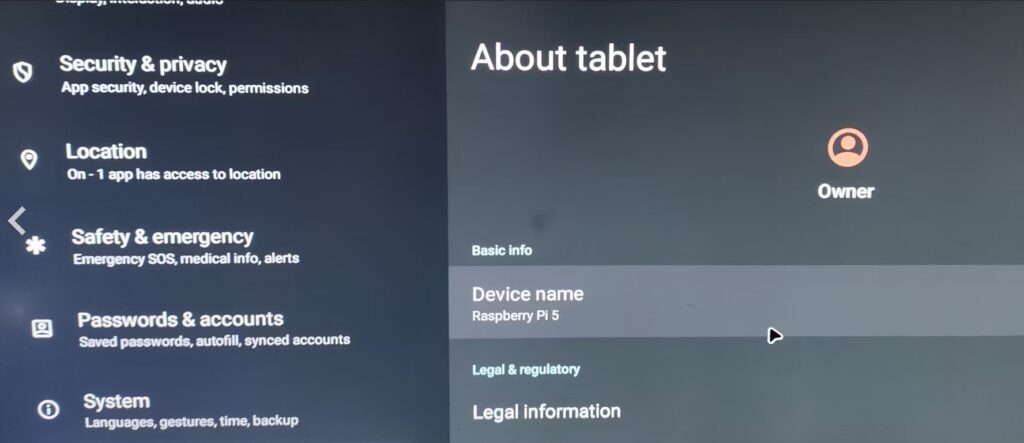
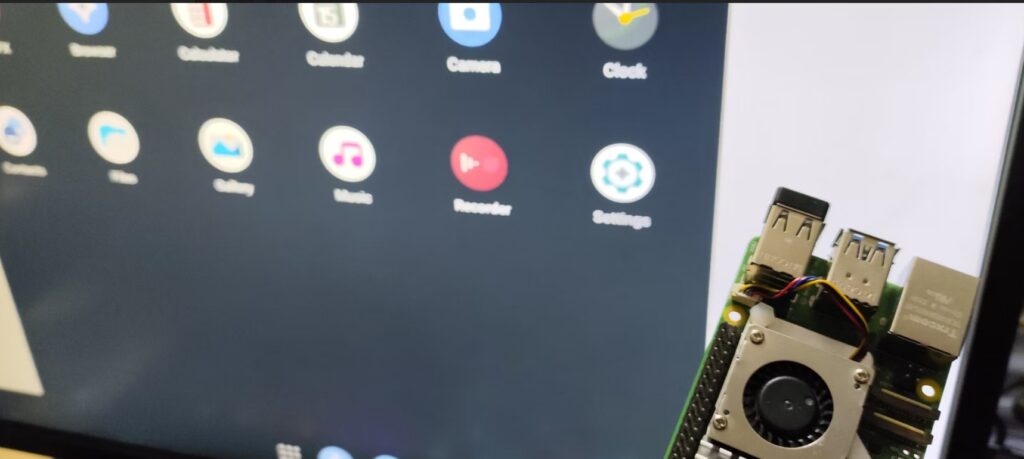
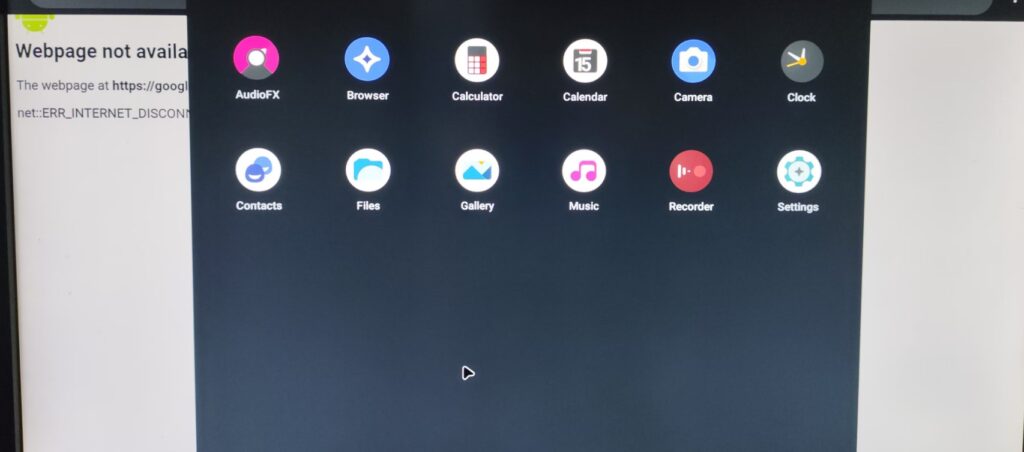
If you have a modified APK file that you’re hesitant to install on your primary smartphone, why not consider using your Raspberry Pi computer as an experimental platform? With a bit of tinkering, you can transform your Raspberry Pi into an Android device capable of running the most recent version of this widely used mobile operating system.
There’s a broad selection of Android builds available for you to explore. For beginners, LineageOS is a great starting point due to its user-friendly interface and robust community support. More advanced builds like AOSP and Emteria can be explored as you gain more confidence and experience.
To enhance your user experience, consider investing in a touchscreen display for your Raspberry Pi. This will give you a more authentic Android experience. And for those who enjoy the process of rooting devices, you’ll find it particularly satisfying to install Google Apps and Magisk on your newly created Android-Pi setup. This Pi project offers a safe and fun way to experiment with Android customization without risking your primary device.
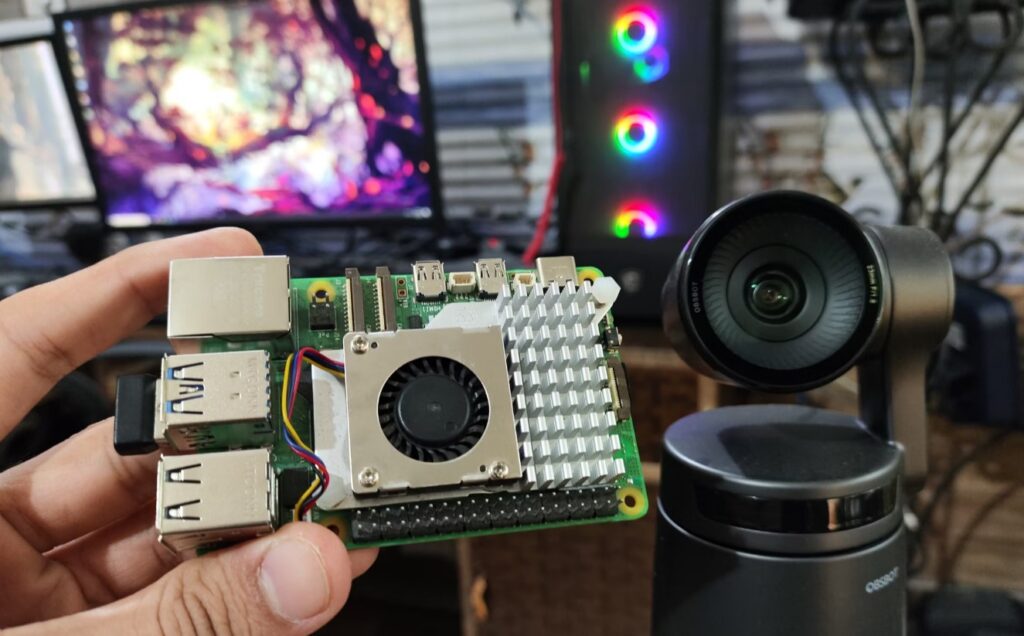
6. Smart surveillance system
While it’s true that the cost of CCTV and surveillance cameras has significantly decreased in recent years, creating your own security camera system using a Raspberry Pi offers a unique and rewarding experience. The beauty of a Raspberry Pi-based surveillance system lies in its flexibility. With some minor adjustments, you can set up your camera to identify movement, trigger alerts, and even save all recordings to a cloud-based storage system.
Just like in our previous project where we created a time-lapse video, you have the freedom to choose any type of camera accessory for your security system. This could be a compact camera module, a cost-effective webcam, or even a premium camera that supports Infrared (IR) for night vision.
This DIY approach not only allows you to understand the workings of a surveillance system but also gives you the power to customize it according to your needs. Whether you want to monitor your home while you’re away or keep an eye on your pets, a Raspberry Pi surveillance system can be an effective and affordable solution.
Remember, the key to a successful DIY project is patience and a willingness to learn. So, gather your Raspberry Pi and your chosen camera, and let’s start building your personalized security system!
Check: Hubby Love Quotes
Also Read: ASUS Expert Book B1 Review: Elevating Business Computing
5. Network-wide firewall
While there are plenty of antivirus solutions available for most operating systems, imagine transforming your Raspberry Pi into a robust firewall that can shield all your devices from online threats. This Pi project primarily requires a USB Type-A to Ethernet adapter, which is essential for linking your Raspberry Pi to your computer and router.
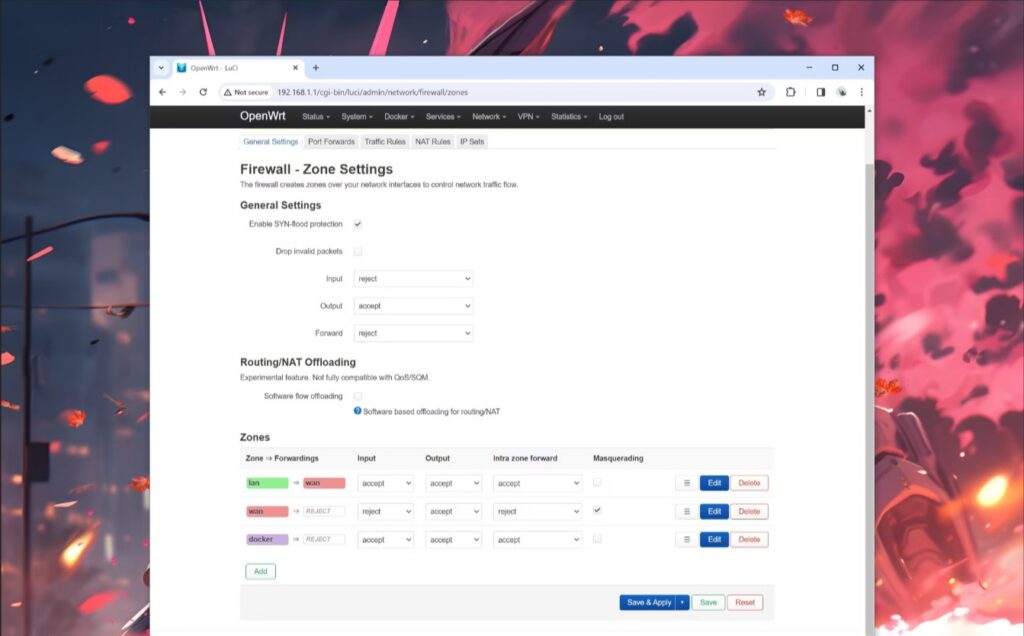
After you’ve successfully installed the OpenWrt operating system on your Raspberry Pi, you can access the LuCI web interface or the command-line-based UCI terminal on your computer. This opens up a world of possibilities for you to establish custom traffic rules and explore a wide range of other network settings.
The goal here is to enhance the security of your home network. By using your Raspberry Pi as a firewall, you can monitor and control the data that enters and leaves your network, providing an additional layer of protection against potential cyber threats. This DIY project not only offers a practical solution to home network security but also provides a great learning opportunity for those interested in networking and cybersecurity. So, let’s get started on fortifying your home network with your Raspberry Pi!
4. Steam Link streaming device
While the latest Raspberry 5 models can run games from the Steam platform, their performance is typically limited to 2D games and older titles that don’t demand high computational power. However, if you have a high-performance PC, there’s an alternative way to enjoy your favorite games on the Raspberry Pi – by using Steam Link.
Steam Link is a service that allows you to stream games from your powerful PC to other devices, including the Raspberry Pi. This means you can play your favorite PC games on your Raspberry Pi, effectively turning it into a mini gaming console. This Raspberry project can be particularly useful if your TV doesn’t have built-in support for Steam Link. So, with a bit of setup, you can sit back and enjoy your favorite games on any screen in your home, thanks to the versatility of the Raspberry Pi and Steam Link.
Check: Birthday Wishes
Also Read: Exploring Methods to Evaluate Your Windows PC or Laptop Health
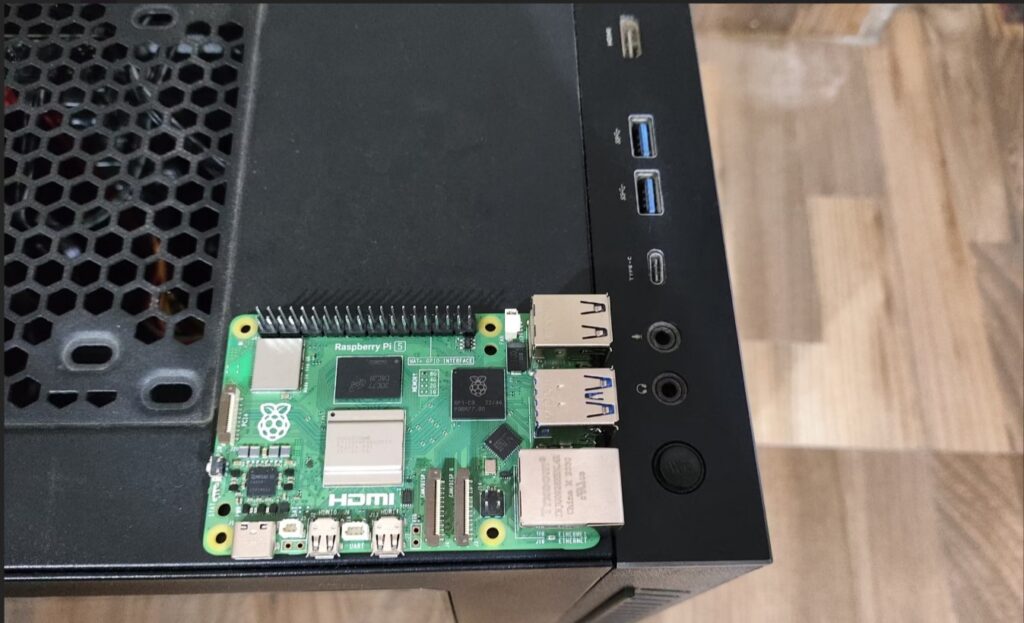
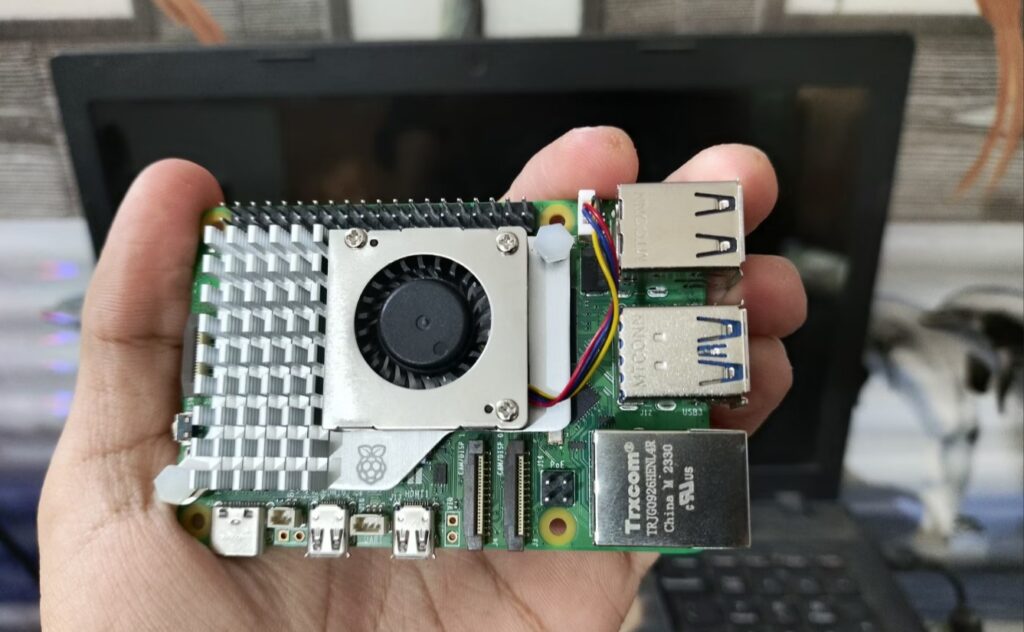
3. Headless Raspberry Pi
Frequently plugging and unplugging your keyboard, mouse, and monitor into your Raspberry Pi can be quite tedious, especially if you don’t have extra peripherals at your disposal. However, there’s a solution that might sound a bit ominous but is actually a blessing for DIY lovers – a ‘headless’ Raspberry Pi.
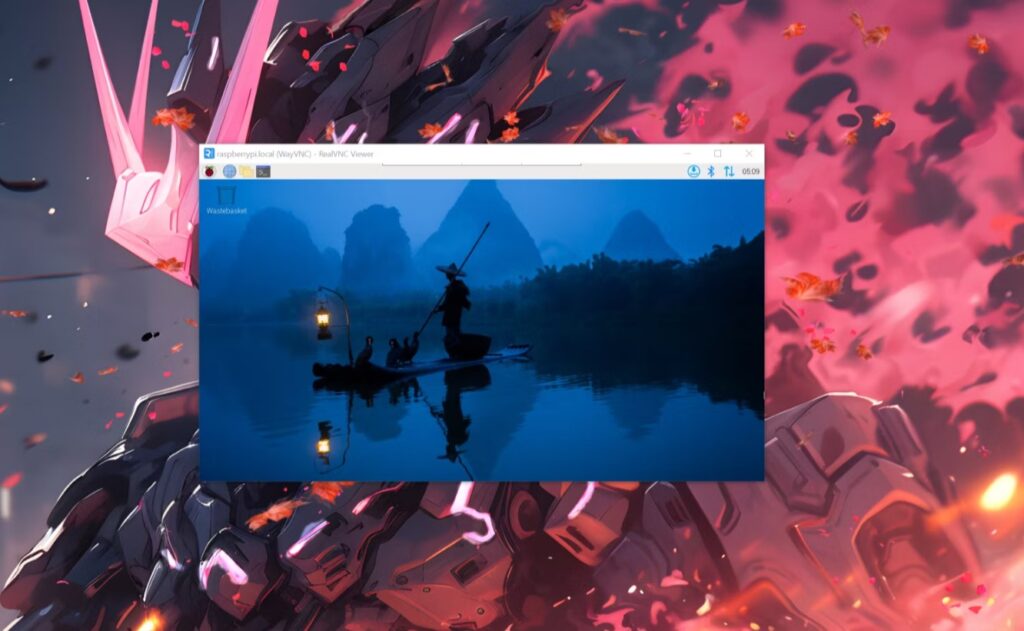
A headless Raspberry Pi is a setup where the Raspberry Pi operates without a physical keyboard, mouse, or monitor. Instead, it can be controlled remotely from any device connected to the same network. This setup is particularly useful for those who want to use their Raspberry Pi for server-based projects or those who simply want to avoid the clutter of extra cables and devices.
Setting up a headless Raspberry Pi might seem daunting, but the official Raspberry Pi Imager tool has made the process much simpler. With this tool, you can have your headless Raspberry Pi operational in under an hour. This means you can start working on your Raspberry projects sooner and with less hassle. So, if you’re ready to dive into the world of headless computing, grab your Raspberry Pi, and let’s get started
2. Pi-hole
Despite its unusual name, a Pi-hole is a powerful tool that acts as a network-wide ad blocker. It enables all your devices to access websites while effectively blocking unwanted ads and trackers, thereby enhancing your online browsing experience.
One of the key benefits of using a Pi-hole is that it can improve your network’s performance. By blocking unnecessary ads and trackers, it reduces the amount of data being processed, which can lead to faster loading times for websites. Additionally, a Pi-hole can help reduce your data usage, which can be particularly beneficial if you’re on a limited data plan
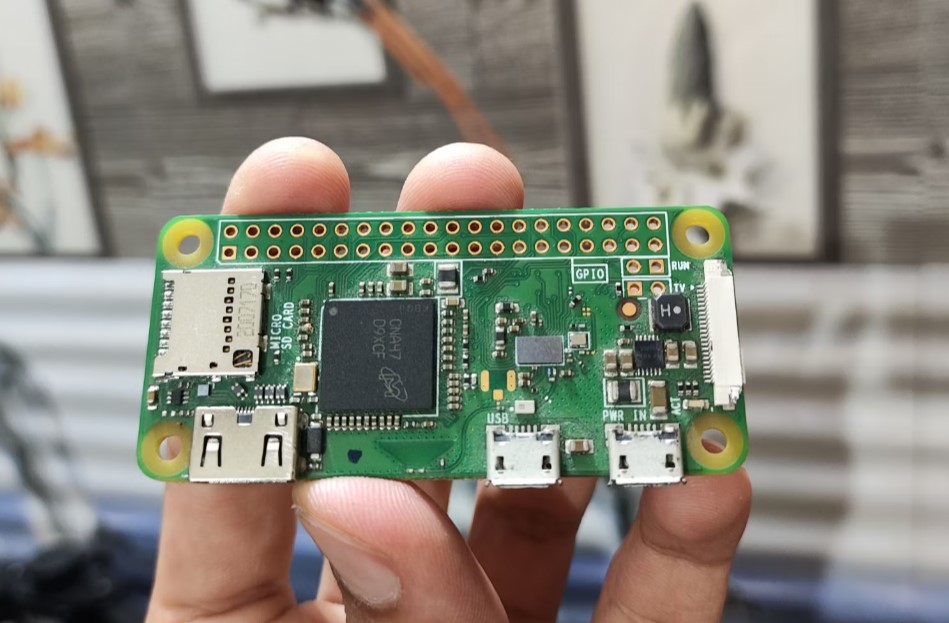
Unlike the Raspberry Pi-powered firewall we discussed earlier, setting up a Pi hole doesn’t require any additional adapters. This makes it a more cost-effective solution for those looking to enhance their network’s security. Furthermore, you can even set up a Pi-hole on a budget-friendly Raspberry Pi Zero W board, making it an affordable option for everyone.
Check: Motivation Quotes
Also Read: Top 7 VDI Software to Securely and Efficiently Deliver Virtual Desktops
1. Emulation station

Raspberry Pi’s, including the latest Raspberry Pi 5, have been widely used for emulating games, making them a popular choice for creating a retro gaming machine. The beauty of these Raspberry projects is that you don’t need to use expensive boards; even the compact Raspberry Pi Zero can emulate 2D games designed for GBA and older consoles. For beginners, I recommend Recalbox as the OS for your emulation box due to its solid UI and packed features. However, once you’ve gained more experience, you can explore the unique features offered by RetroPie, the king of retro gaming operating systems.
These are some of the simplest projects you could build with palm-sized Raspberry Pi boards. A Recalbox emulation machine is my top recommendation for anyone starting out with these SBCs. It’s equally enjoyable to play your favorite 2D Android games on a touchscreen display connected to your Raspberry Pi 5.
As you become more experienced with your miniature system, you can tackle more complex projects. These could include a Raspberry Pi-powered NAS, a Kubernetes cluster, an FM radio, or even a weather station capable of monitoring temperature, humidity, and air pressure! So, let’s dive into the exciting world of Raspberry Pi projects.
Check: Friends Quotes
Also Read: Snapdragon X Elite Impresses with Gaming Performance: Butter-Smooth and Shocking!
Source: www.xda-developers.com


